This post contains affiliate links. As an Affiliate, I may earn from qualifying purchases at no additional cost to you. See my full disclaimer here.
Are you a fan of cute boba tea and also love to draw? If so, then you’re in luck because you can follow this step-by-step guide on how to draw an absolutely adorable bubble tea! By the end of this tutorial, you can create your own lovely boba tea artwork.
Let’s get started!

Some Materials to Draw the Cute Boba Tea:
- Pencil: Sketch the outline of the cup and boba before adding details. Eraser: To remove any mistakes or unwanted lines.
- Paper: You can use any paper, but thicker paper is preferable to prevent smudging or tearing.
- Coloring tools: You can use markers, colored pencils, or any other coloring tools you prefer to add color to your artwork.
- Ruler: To ensure that the cup and boba are proportional and even.
- Reference guide: You can follow along with our reference guide; it will help you draw more accurately and better understand what you want your artwork to look like.
With these materials, you can create your unique and cute bubble tea artwork and cartoon. Happy drawing!

Key Note on Drawing a Cute Bubble Tea:
- Use a pencil to draw and draw it lightly, so you can easily erase any mistakes. If the lines are heavier and deep on the paper, it is difficult to color after erasing; the trace of the pencils will always be there. So, draw it lightly.
- If you make a mistake, don’t worry! We can correct it; drawing come from practice and patience.
- Use a reference guide to help you to oversee the next step. You can print the reference guide to place next to you when you draw.
- Add your personal touch, and you can change the boba to a heart shape or add a logo for your boba. Make something unique and fun!
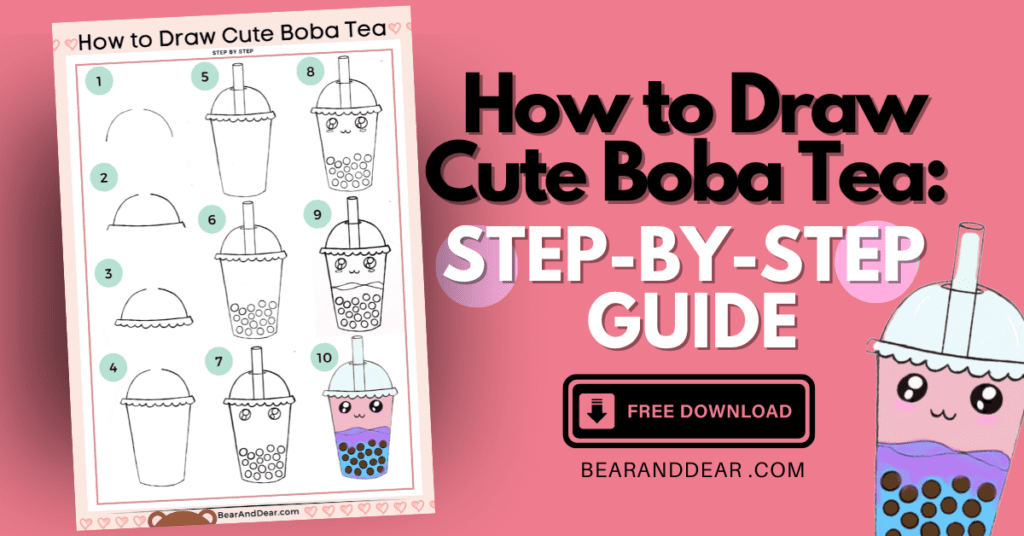
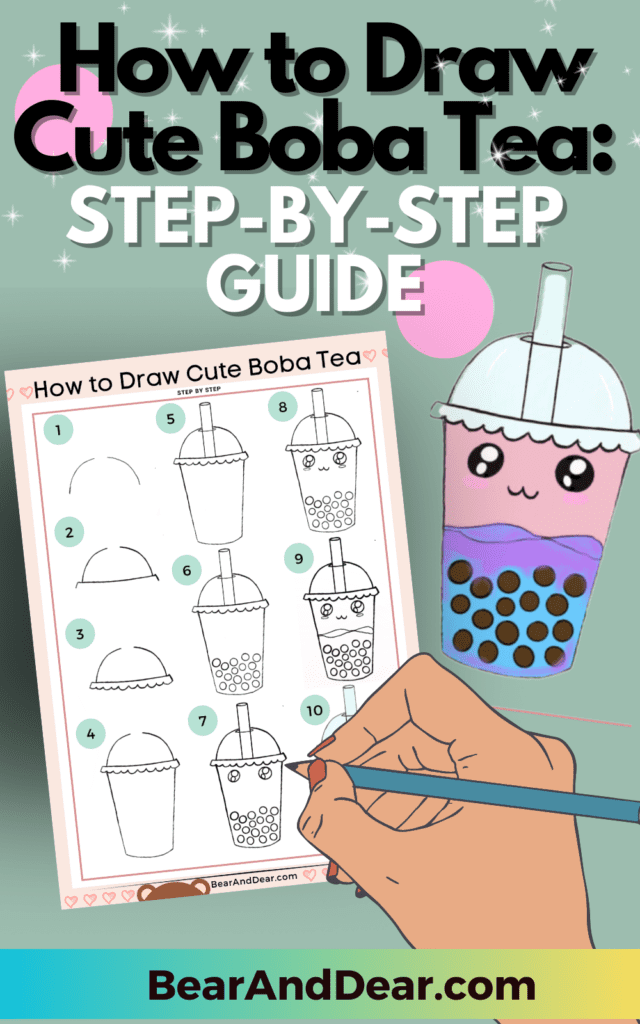
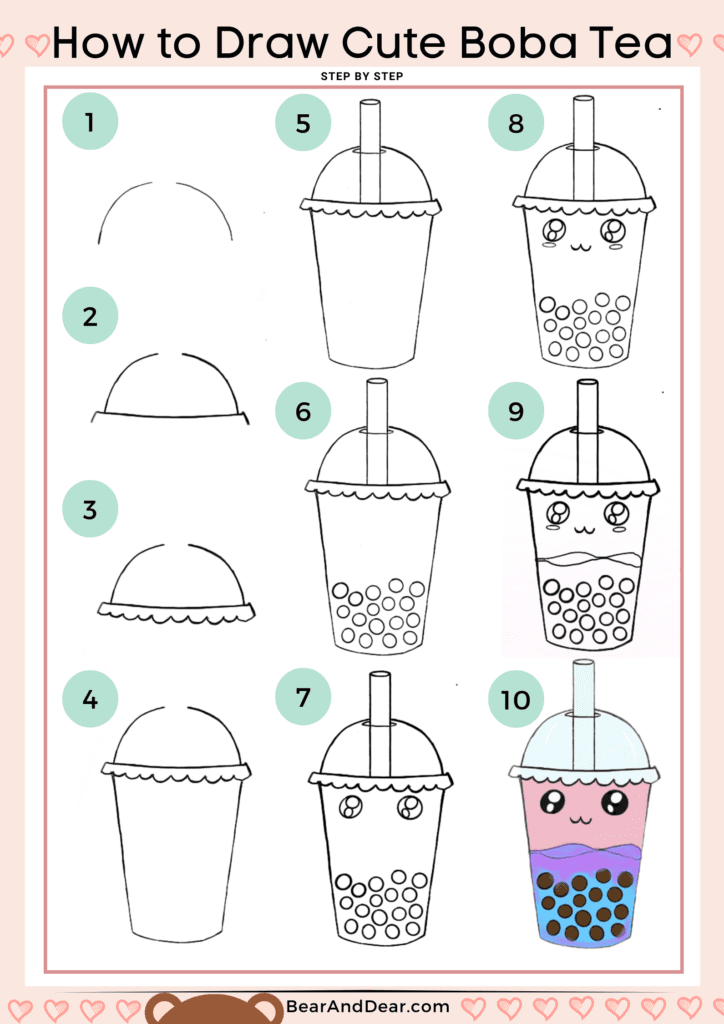
Cute Boba Tea Drawing Reference Guide:

How to Draw Cute Boba Tea? Step by step:
Step 1: Sketch the top of the Cute Boba Tea Cup
Use a pencil to draw a curve on the left side, then do the same on the right. Try to draw it evenly. Since we start it with a pencil, we can always erase the error or adjust the shape we want.

Step 2: Sketch the cover of the cup
Outlining the cup cover. It is almost similar to drawing a rectangle but slightly curved; you can follow the outline below.

Step 3: Add some ruffles
Drawing some ruffles to close the half rectangle.

Step 4: Draw the body of the cup
When drawing the cup body, you can use a ruler to guide the line, making the straight line easier to draw. Draw the cup body slightly and go into the center a little bit. Because the top of the cup is supposed to be larger than the bottom, draw a curved line like a half-oval shape to close the bottom.

Step 5: Draw a straw and the cup hole
It is time to add a straw which is a cylinder shape, and the straw stop at the top of the cup cover. Then, draw a circle at the top of the cup and over the straw as the cup hole.

Step 6: Add some boba pearls
Wow, we are almost done. Let’s add some circle boba pearls to the bottom of the cup; I put 17 of them; it is up to you how many you want to put in the tea.

Step 7: Add the shiny eyes
Add the shiny eyes to the middle of the cup, start on the left side to draw a large circle, then draw two smaller circles inside the large circle. After the left eye is finished, repeat the step for the right eye.

Step 8: Draw the mouth and blushes
Draw a “W” “-shaped mouth, and add two oval-shaped blushes.

Step 9: Add some ripples to the drink
Yeah, you are here. The final part is to add some ripples to the drink, and it doesn’t have to be perfect; it is some curve lines.

Step 10: Add Color
Once you’ve completed your drawing, it’s time to add some color! Use your favorite coloring tools, like markers or colored pencils, to color the cup and boba. You can choose any colors you like. Or you can use our reference image to color the same.

Congratulations, you’ve just learned how to draw boba tea! With a little bit of practice, you’ll be able to create your own unique kawaii bubble tea artwork.
What are other craft ideas?
9 Free Boba Tea Wall Art To Bubble Up Your Space
There are other coloring pages you may enjoy, too, 25+ Free Easter Coloring Pages Printable for Kids and Adults, and this is the perfect idea for a bunny easter day activity.
If you like to read books, check out our Space-Themed Bookmarks to add to your book collection!
More Drawing Guide:
How To Draw A Cute Lamb: Step-By-Step Guide
How To Draw Ice Cream Cow: Step-By-Step Guide
One comment
Comments are closed.