It’s time to draw a cute bunny and let your creative side loose! (Yes, I’m referring to wriggling tail, prickly whiskers, and floppy ears.)
Greetings to all fluffy, affectionate carrot nibblers! Following the easy steps of drawing a charming rabbit, you can summon a fluffy buddy who will make you squeal joyfully. You don’t need any prior drawing skills; choose your favorite supplies and get ready to explore your creative side!
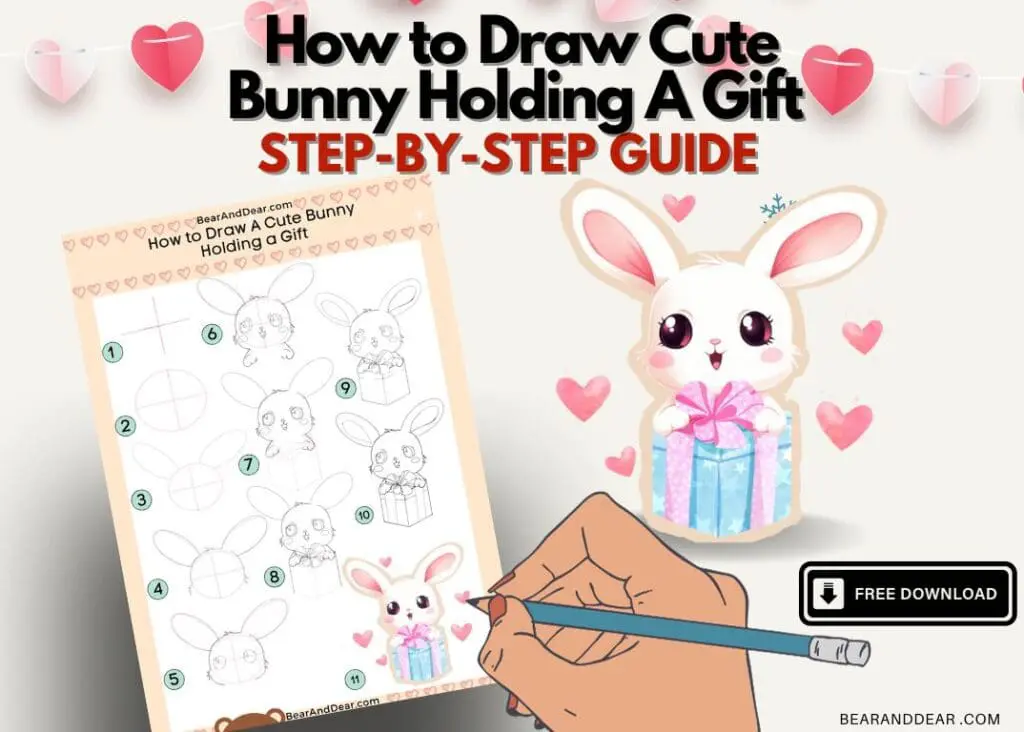
Doubt your ability to draw? Rethink that! Your very own “bunny whisperer,” this guide will walk you through the process of making these adorable animals come to life step-by-step. We’ll begin with basic shapes, develop them into fluffy forms, and then add the endearing features that make rabbits so adorable.
What is the bunny significance?
Playfulness and innocence: Bunnies are frequently associated with softness and playfulness since they are cute and innocent animals.
Luck and Fortune: A rabbit is regarded as a lucky charm in various cultures. This belief comes from mythology and mythical tales.
What is the bunny’s overall shape?
Sketching a bunny involves capturing its unique characteristics and adjusting its general shape to highlight its unique appearance. The bunny has a key feature of long ears, whiskers on the face, and fluffy fur.
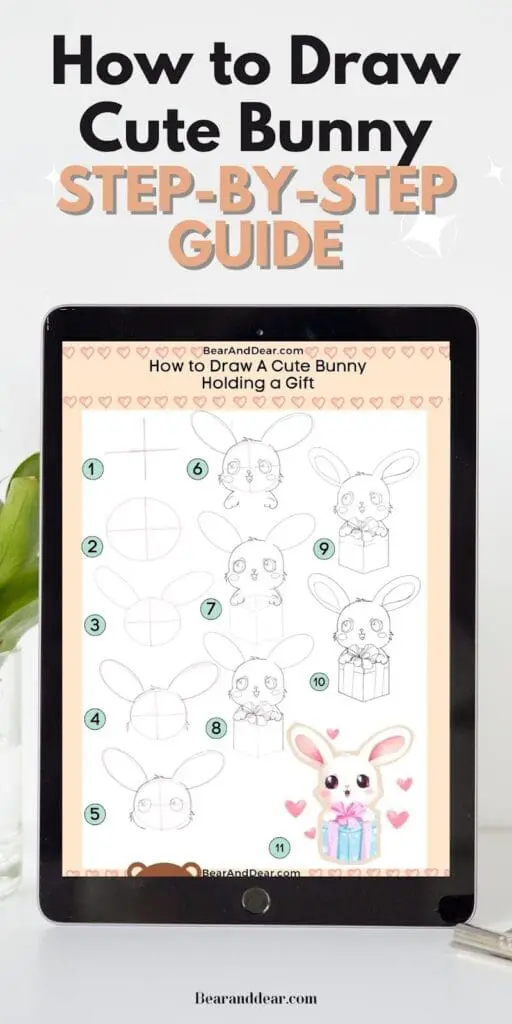
Key Note on Drawing A Draw Cute Bunny:
- Use Guide Lines: draw lightly with your pencil as delicately as possible on the paper. This way, if you need to draw specific shapes, guidelines will help you accomplish that.
- Allow mistakes to be made: Eraser is always here to help. Mistakes happen, and that’s fine! Even the most talented artists create them. Drawing improves with practice and patience, much like raising a lovable pet. Don’t worry if your bunny looks more like a rice ball. Please take a deep breath, smile, and give it another go. You’re capable of handling this.😄
- Use the Reference Guide: Many artists use references to help them visualize the drawing. You may print it off and have it close at hand while drawing.
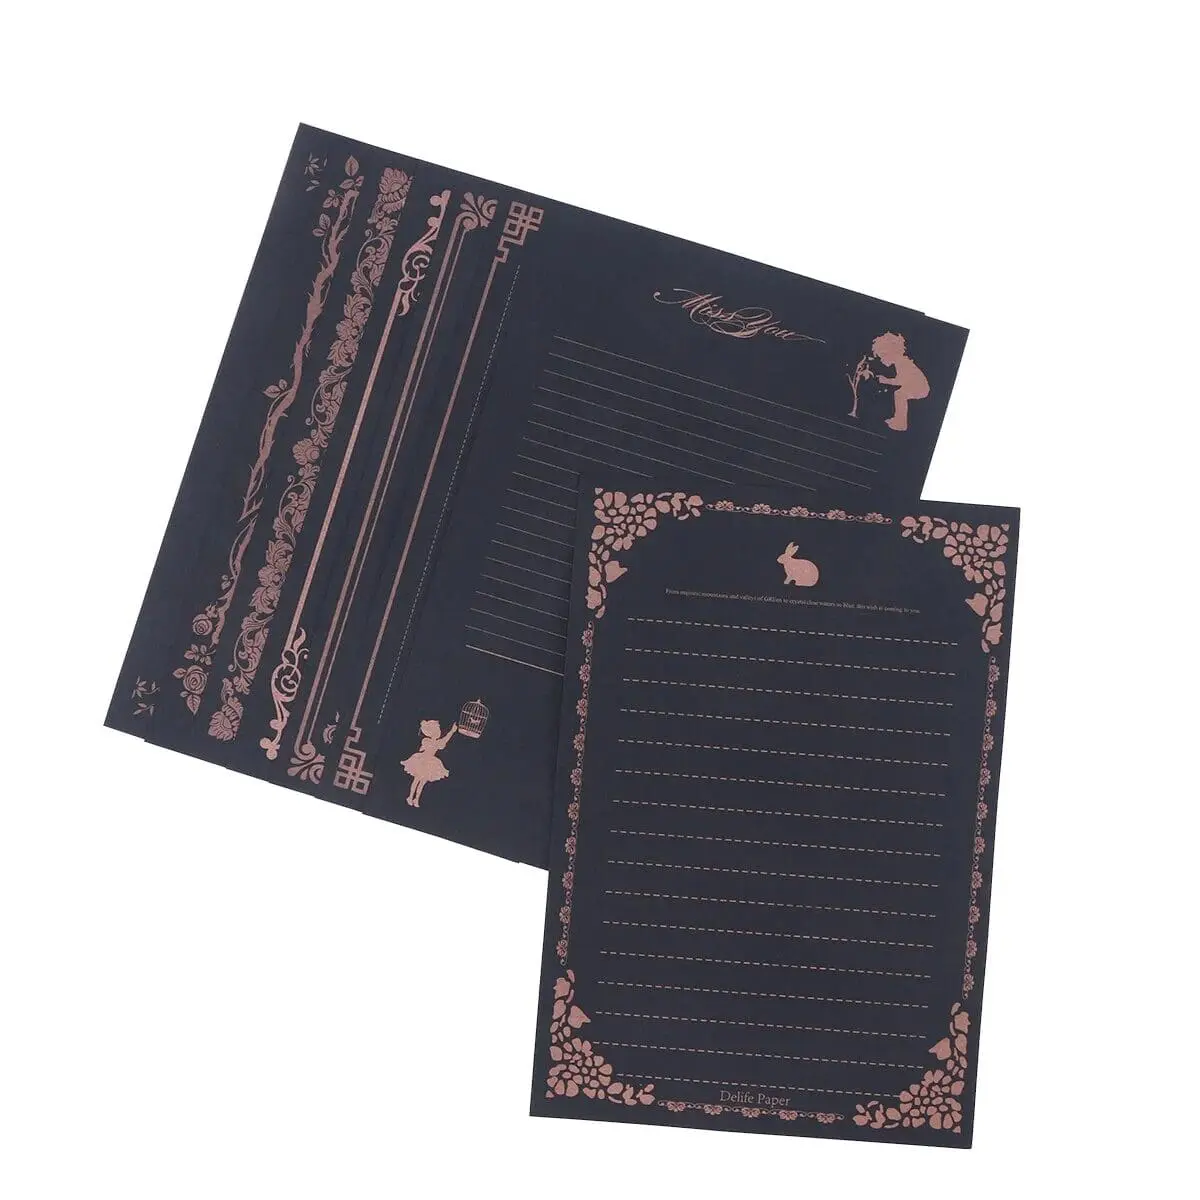
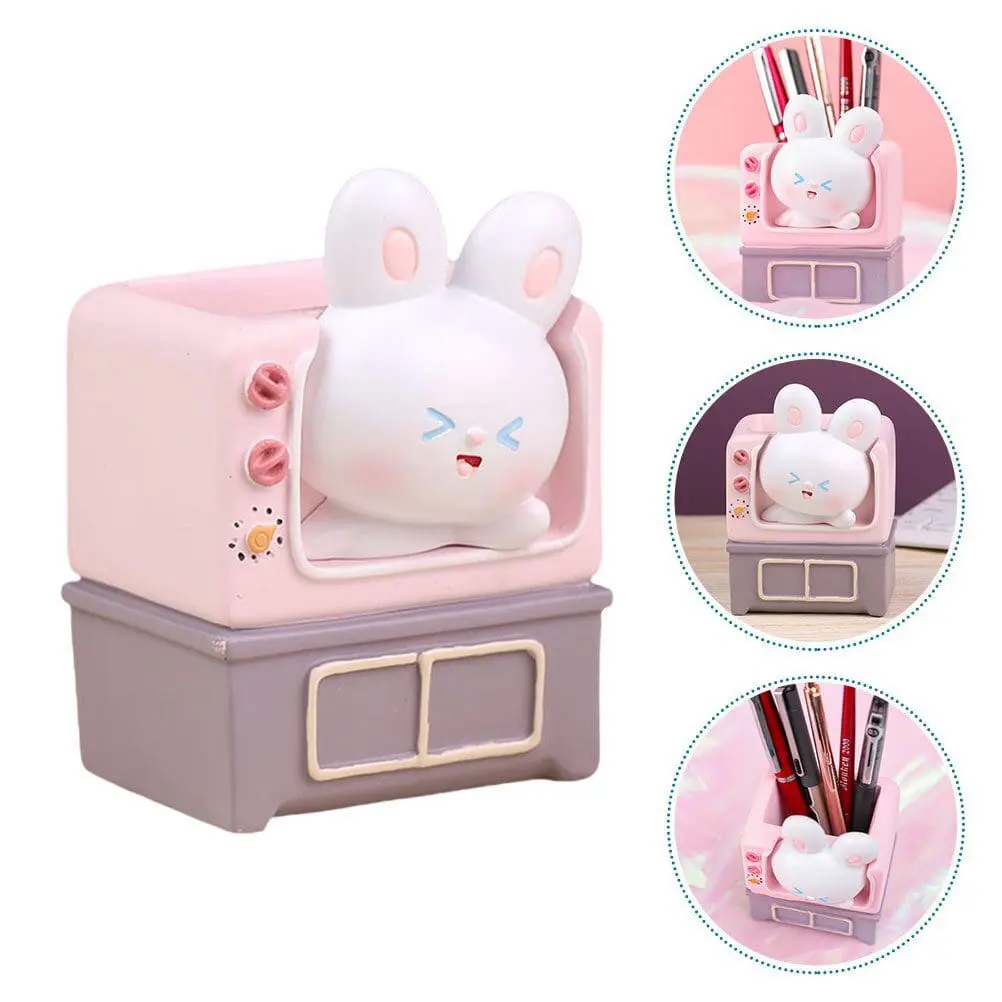
Some cute Bunny stationery to bring joy to the spring season:
This post contains affiliate links. As an Affiliate, I may earn from qualifying purchases at no additional cost to you. See my full disclaimer here.
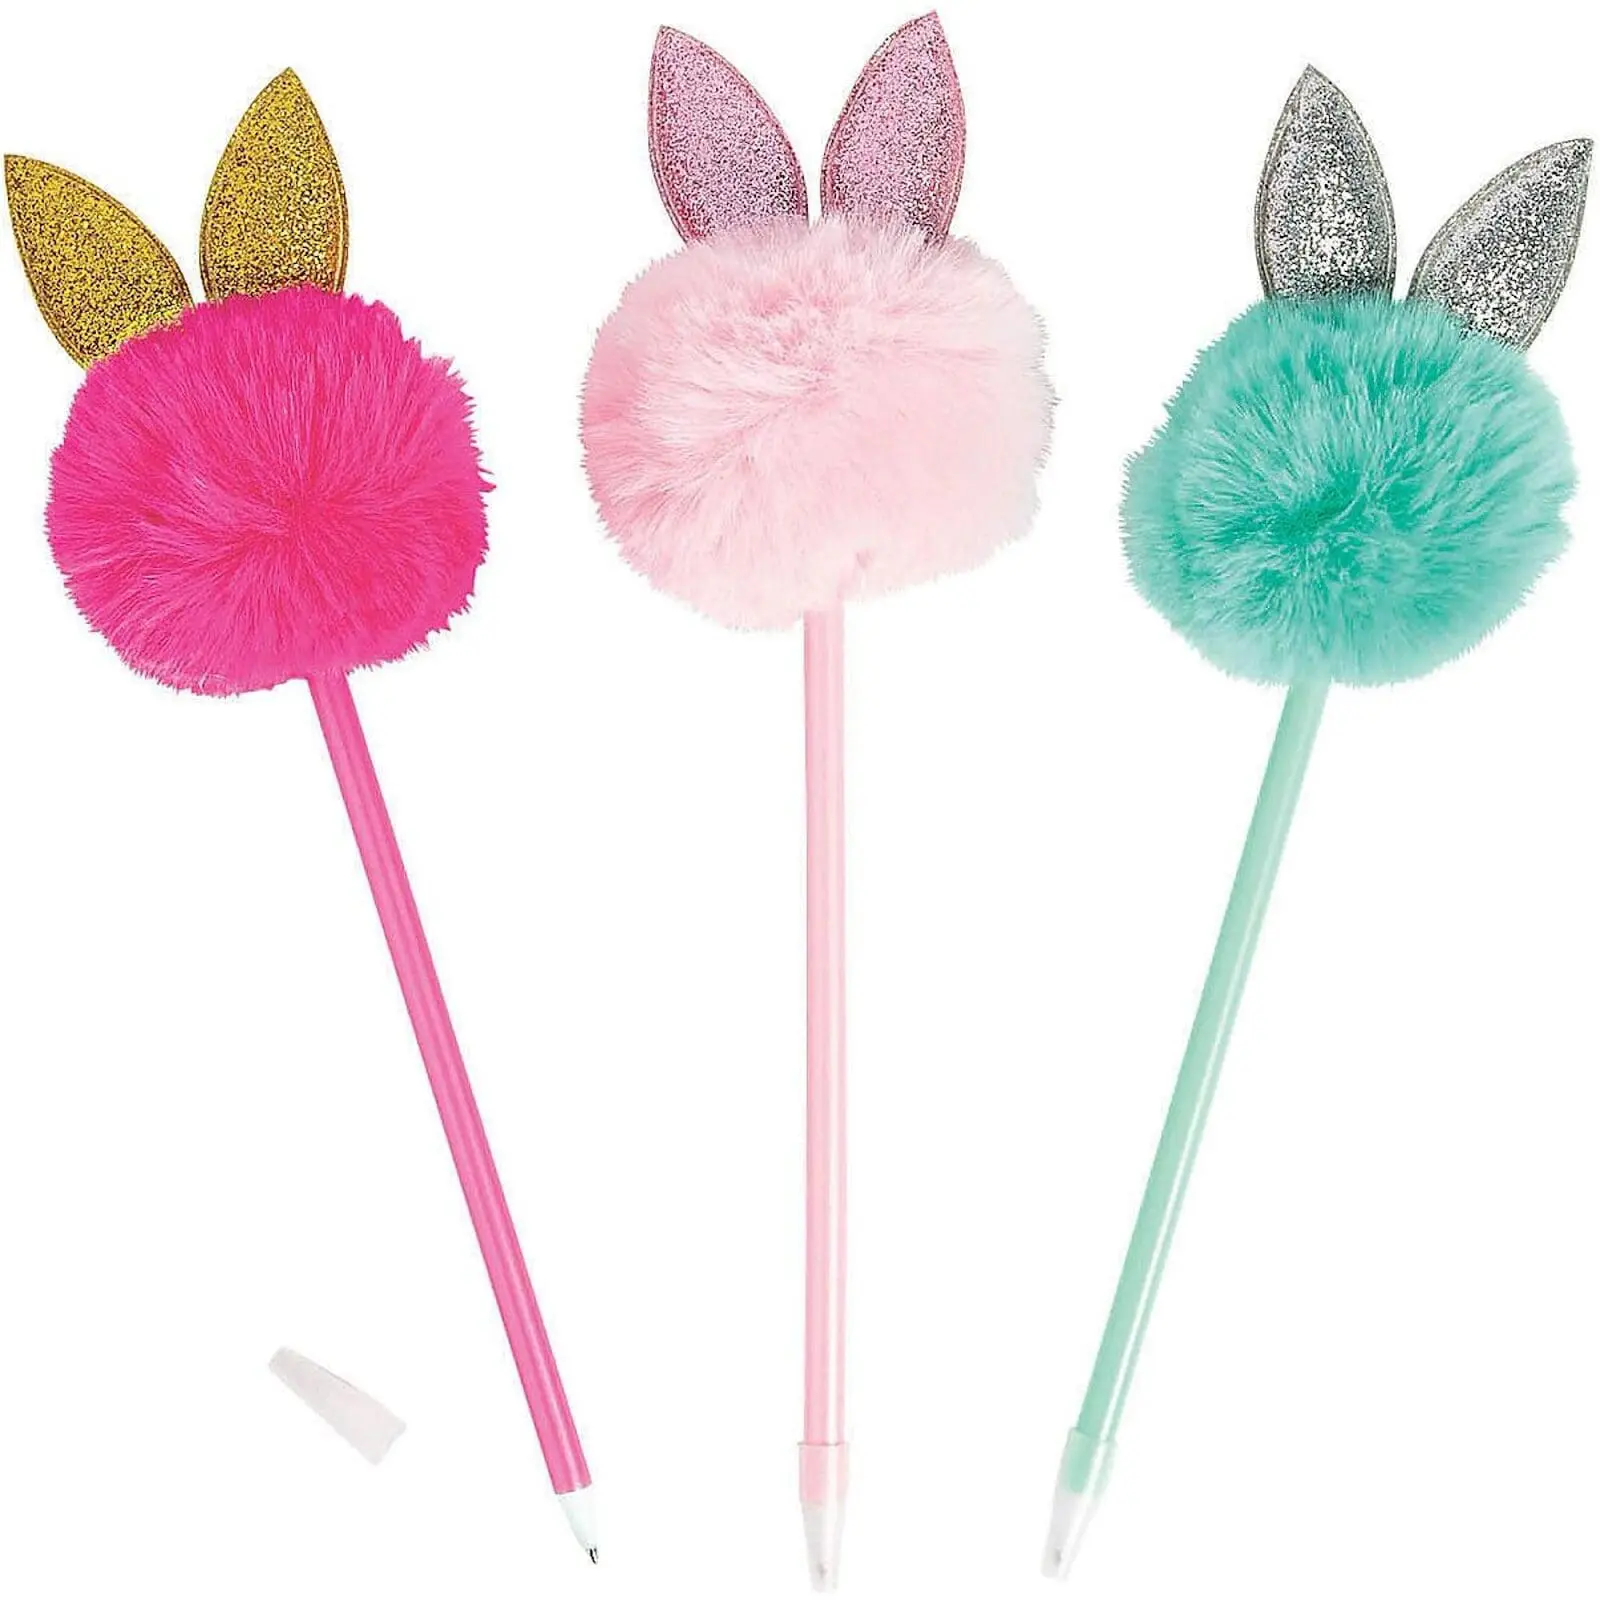
1. Bunny Ear Pen
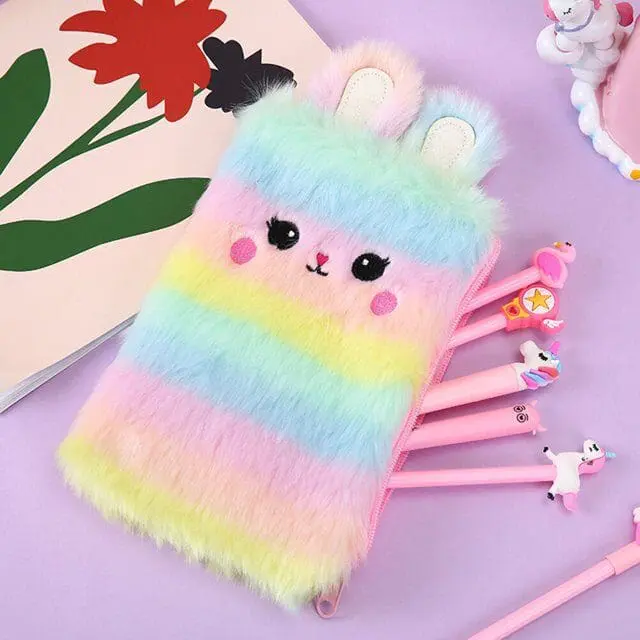
2. Bunny Stationery Storage Bag
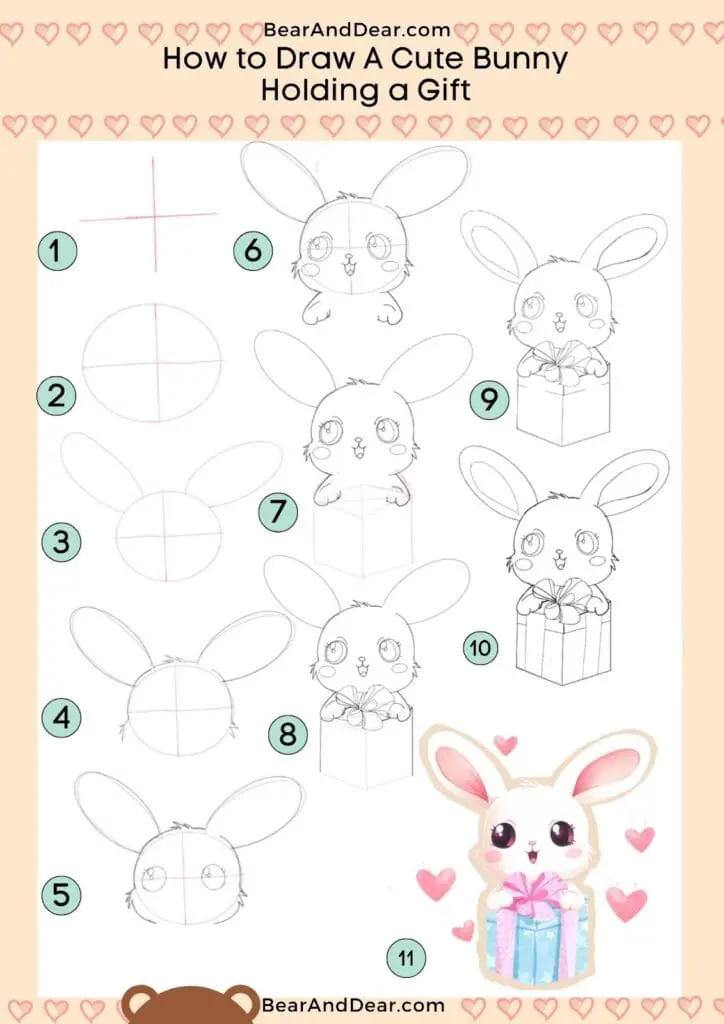
Cute Bunny Drawing Reference Guide:
Materials needed to Draw the Cute Penguin:
- Pencil: To sketch the outline of the penguin before adding the face and body details.
- Eraser
- Paper: You can use any paper, but thicker paper is preferable to prevent smudging or tearing.
- Coloring tools: You can use markers, colored pencils, or any other coloring tools you prefer to add color to your artwork.
- Download Bunny Reference Guide: You can use our reference guide to follow along; it will help you draw more accurately and better understand what you want your artwork to look like. You can create unique and cute Penguin artwork with these materials. Happy drawing!
How to draw a cute bunny? Step by step:
- Start with a cross
Use a pencil to draw a cross line; this cross line is a guideline for drawing the Bunny face later. Make sure the vertical line is shorter than the horizontal line.

- Draw the outline of the Bunny’s face.
The Bunny’s face is an oval shape. Using the previous cross guideline to help position the Bunny face.

- Add the ears
Draw two long “U” shapes as the two ears on both the left and right sides.

- Outline the face
Use the previous guideline to outline the ears and face. Don’t forget to add some hair on the bunny’s head and some whiskers to the bunny’s cheek area.

- Draw the eyes
It is time to add the sparkly eyes to the bunny face and use the cross guideline to position the eyes from the center. Draw three different sizes of oval shapes for the eyes. Start on the left eye, then finish to the right eye. Also, draw the cheeks following the oval face guideline.

- Add the facial impression and hands.
Now, on the previously finished eyes, add on a more oval shape to surround them. And add the curved line above the eyes as the eyelids. Add two oval shapes on each side of the cheek as the blush. Add the oval-shaped nose and the mouse.
Follow the picture below to draw the shoulder and the hands.

- Add the gift
This Bunny is holding a gift, so visualize a gift box, it is a square gift box is a cube. Draft the top part as a parallelogram, use the parallelogram endpoint as a guide to draw three vertical straight lines, and close the bottom of the gift box using parallel lines.


- Add the ribbon
Add five ribbon petals on the top of the gift box. 

- Add the side ribbons
In the middle of the gift box, follow steps 9 and 10.

- Add Color
Once you’ve completed your drawing, it’s time to add some color! Don’t forget Bunny is always fluffy, so add some volume to the bunny hair when coloring. 🎨🖍️

Congratulations, you’ve just learned how to draw a cute Bunny! With a little bit of practice, you’ll be able to create your own unique Kawaii Bunny artwork.
What Are Other Craft Ideas?
There are other coloring pages you may enjoy, too, 25+ Free Easter Coloring Pages Printable for Kids and Adults, and this is the perfect idea for a bunny easter day activity.
How to Draw A Cute Penguin Step-by-Step Guide
How to Draw Cute Boba Tea: Step-by-Step Guide
How To Draw A Cute Polar Bear: Step-By-Step Guide
How To Draw Taiyaki Ice Cream: Step-By-Step Guide With Coloring Page
How To Draw A Cute Reindeer: Step-By-Step Guide
How To Draw A Cute Lamb: Step-By-Step Guide
How To Draw A Cute Frog: Step-By-Step Guide
If you like to read books, check out our Space-Themed Bookmarks to add to your book collection!

2 comments
Comments are closed.