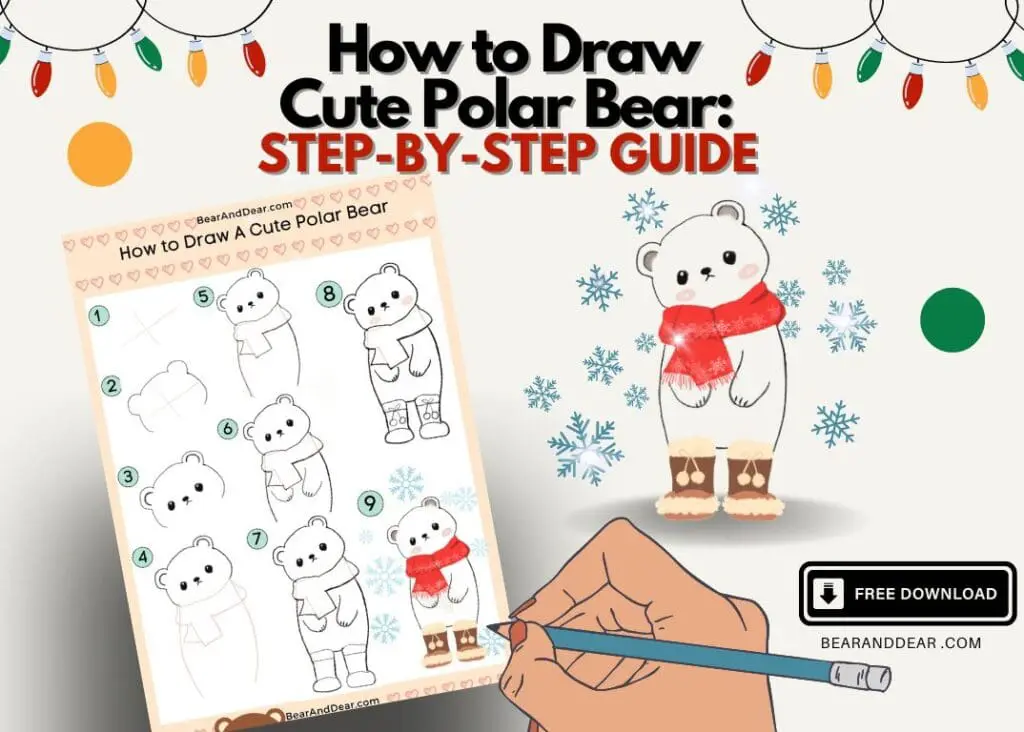
Thinking of sketching a Christmas Cute Polar Bear drawing for this holiday? Here is the step-by-step guide you need to draw your own. This polar bear is here to celebrate the cold winter and holiday. By the end of this cute polar bear drawing tutorial, You can begin drawing this adorable polar bear for your Christmas cards and other purposes. Let’s get started!

What is the polar bear’s significance?
In the Arctic, polar bears are sacred to indigenous tribes. They frequently appear in folktales, mythologies, and artwork. Many Arctic cultures consider polar bears to be spiritual, solid beings and resilient emblems.
What is the polar bear’s body shape?
Sketching a polar bear involves capturing its unique characteristics and adjusting its general shape to highlight its unique appearance. In this, the polar bear has a key feature of a round face and long torsos.
Key Note on Drawing A Draw Cute Polar Bear:
- Use Guide Lines: Visualize your pencil as a delicate embrace from the paper. Outline the guidelines lightly. This way, if you need to draw specific shapes, guidelines will help you accomplish that.
- Allow to make mistakes: Mistakes happen, and that’s fine! Even the most talented artists create them. Drawing improves with practice and patience, much like raising a lovable pet. Don’t worry if your polar bear’s beak looks more like a banana. Take a deep breath, smile, and give it another go. You’re capable of handling this.😄
- Use the Reference Guide: Many artists use references to help them visualize the drawing. You may print it off and have it close at hand while drawing.
This post contains affiliate links. As an Affiliate, I may earn from qualifying purchases at no additional cost to you. See my full disclaimer here.
Some cute polar bear stationery to bring joy to the Snowy seasons:


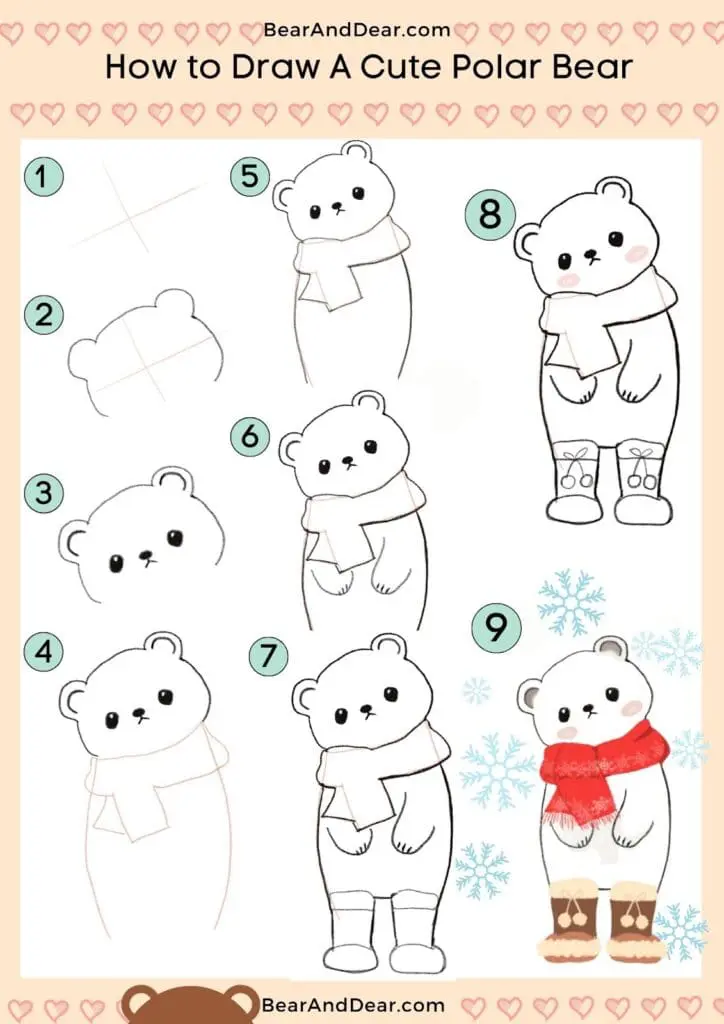
Cute Polar Bear Drawing Reference Guide:

Materials needed to Draw the Cute Penguin:
- Pencil: To sketch the outline of the penguin before adding the face and body details.
- Eraser
- Paper: You can use any paper, but thicker paper is preferable to prevent smudging or tearing.
- Coloring tools: You can use markers, colored pencils, or any other coloring tools you prefer to add color to your artwork.
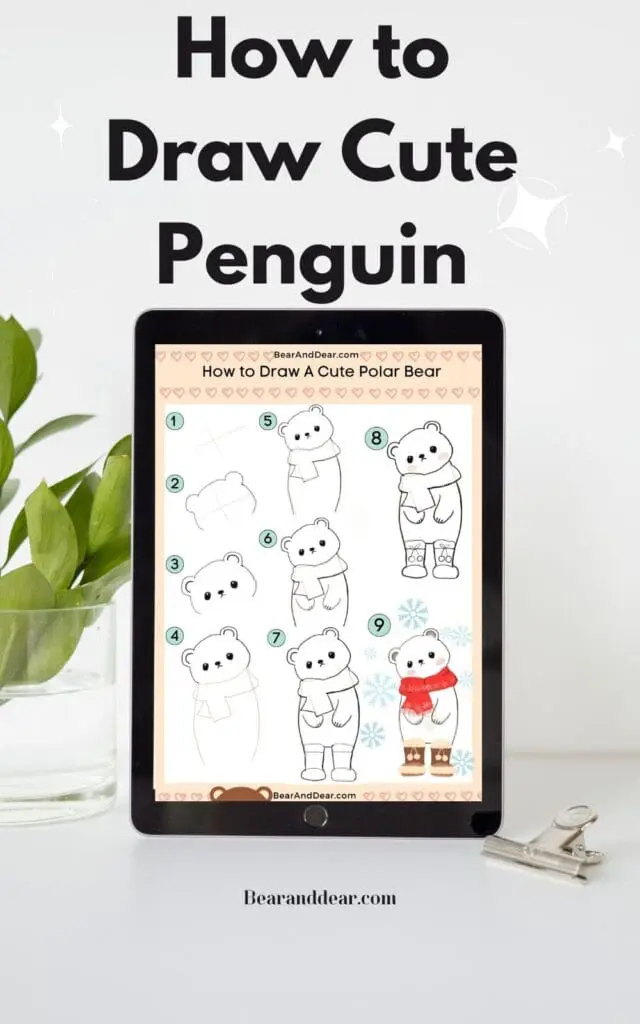
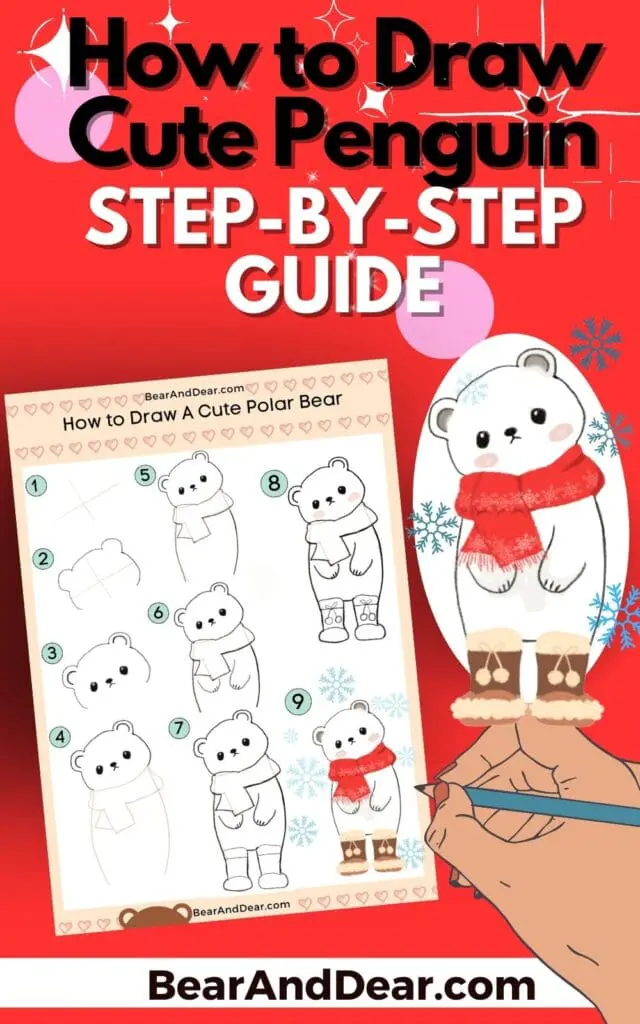
- Download Polar Bear Reference Guide: You can use our reference guide to follow along; it will help you draw more accurately and better understand what you want your artwork to look like. You can create unique and cute Penguin artwork with these materials. Happy drawing!
Files are allowed to be used for personal or teacher usage. No commercial use is permitted on these available. If you want to share the file, please share this original page link. Thank you.
How to Draw a Cute Polar Bear? Step by step:
- Start with a cross
Use a pencil to draw a cross line, and this cross line is a guideline for drawing the bear’s face later. Make sure it is slightly off-center or slightly on the left side.

- Outline the bear’s face
The polar bear’s face is oval in shape with two half-circle ears. Using the previous cross guideline to help position the bear’s face.

- Add the eyes and facial impression
Draw two oval shapes as the two eyes, and add a horizontal oval shape as a nose. Then, add an upside-down “Y” as a mouth under the nose. Don’t forget to add the inner ears by adding two half circles inside the ear area.

- Outline the body guideline
Use a pencil to outline the polar bear’s body, and include a scarf’s outline. The bear’s body has a long torso and standing up position.

- Draw the body and scarf
It is time to follow the outline to draw the body, and we are also outlining the scarf, but not filling in the scarf inside, so we can color the fold after the drawing is done.

- Add the adorable hands
Now, draw a curved line under the scarf and around the bear belly area; draw both on the left and right side. Add three little lines on the tip of the hands to detail it as a bear’s fingers.

- Add the legs
This bear is fashionable and loves to wear boots in the snow so we will draw the boots. Following the below reference, draw the boots on each foot. Using shapes like rectangles with curved edges, and two straight lines.


- Add the bow details
Add two bows with circle ends on the boots. Woah~ you are done~

- Add Color
Once you’ve completed your drawing, it’s time to add some color! Don’t forget polar bears live in a cold, snowy area; add some snow when you are coloring. 🎨🖍️

Congratulations, you’ve just learned how to draw a cute Polar bear! With a little bit of practice, you’ll be able to create your own unique Kawaii polar bear artwork.
What are other craft ideas?
There are other coloring pages you may enjoy, too, 25+ Free Easter Coloring Pages Printable for Kids and Adults, and this is the perfect idea for a bunny easter day activity.
How to Draw A Cute Penguin Step-by-Step Guide
How To Draw A Cute Reindeer: Step-By-Step Guide
How To Draw Taiyaki Ice Cream: Step-By-Step Guide With Coloring Page
How To Draw Cute Bunny Holding A Gift: Step-By-Step Guide
How to Draw Cute Boba Tea: Step-by-Step Guide
How To Draw A Cute Lamb: Step-By-Step Guide
How To Draw A Cute Frog: Step-By-Step Guide
If you like to read books, check out our Space-Themed Bookmarks to add to your book collection!


One comment
Comments are closed.